Secure your Django Project on Heroku with Let’s Encrypt
I really should learn to retire to bed after a 2 day bug whacking marathon.
Because I had been working on a Windows PC (with limited resources)…and couldn’t get docker to run (I was able to install redis in a VM, but my PC was prone to crash – it’s been so since I moved to windows 10, and I’ve just lived with it because formatting at this point will push my timeline back by about a month), I was unable to test my scheduler and tasks (powered by redis) before deploying to heroku.
That cost me 2 days, and the bulk of my woes was because I had assumed that the beautiful PhoneNumberField module would by default spit out e164 numbering, rather you had to do numinstance.as_e164()
Anyway…away from that
To better secure cloud.intouchng.com, I decided to implement https(SSL). After reading about the Heroku (Beta) SSL, and the fact that it was free for hobby accounts and up, I decided to give it a go. There seems to be a lot of terms in the SSL-verse, but eventually, the only 3 I think I needed to master were
- Private Key: This is a your private key. It is usually a file ending in .key
- Certificate Signing Request (CSR): This is a key you generate and send over to the CA, where you say “Hey boss, here’s my CSR, I need a public key (and you vouch I am who I say I am so people can trust me).” It is usually a file that ends in .csr
- The Certificate: This usually contains the domain certificate and the Issuer’s certificate. It’s the deal…and it’s what this whole post is about. This file usually ends in .crt
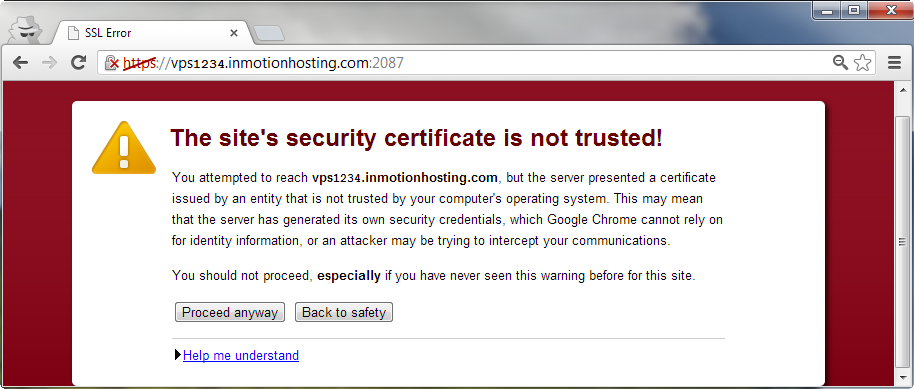
N.B: There is “A Self-Signed Certificate“, but you really don’t want to use that for a public facing website or else your visitors will always see.

Alright, to get the ball rolling, I had to log into one of my remote (linux) VMs to use the openssl program. I did not get much success with puttygen – and I’ll recommend that you try to lay hands on openssl.
Here’s how to generate your CSR and Private Key
openssl req \
-new -sha256 -newkey rsa:2048 -nodes \
-subj '/CN=www.domain.com/O=Company Name Inc./C=NG/ST=Oyo/L=Ibadan' \
-keyout domain.key -out domain.csr
Remember to replace the /CN value with the exact domain name to your app, others are optional.
You should now have 2 files in the directory where you ran this command, domain.key and domain.csr.
Quiz: which is your private key and which is your csr?
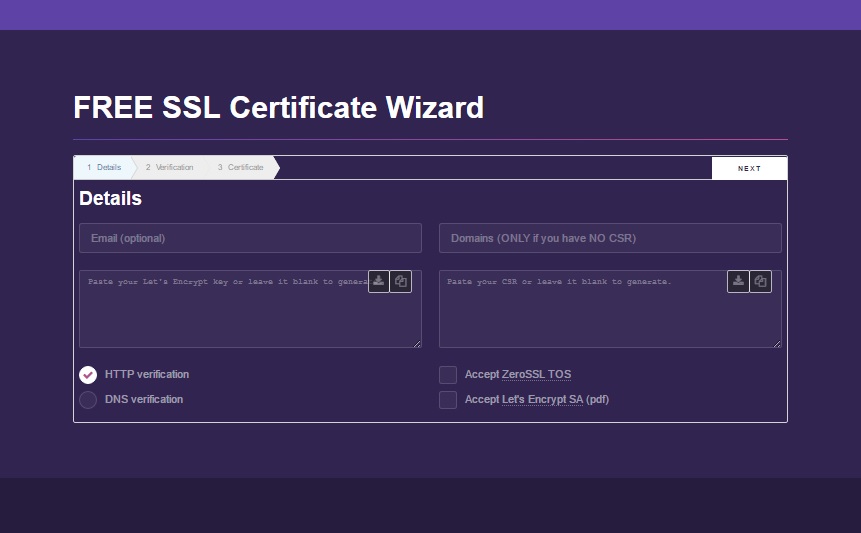
Of all the Let’s encrypt clients, I prefer ZeroSSL, not for any particular reason and you should have good success with other clients.

To get your certificate, you will need to
- Enter your email (they say it’s optional, but it’s alright)
- To verify ownership of the domain, I prefer “DNS verification”, as it involves simply making CNAME entries.
- Now, paste the contents of the domain.csr file you generated above, inside the rightmode text area.
- Accept the TOS and SA and click “next”
- Your certificate is generated on the next screen.
Expecting more steps…nope. That’s It! For now…:)
Using heroku toolbelt, run the following commands (as per the Heroku SSL Beta documentation)
heroku labs:enable http-sni -a your-app
heroku plugins:install heroku-certs
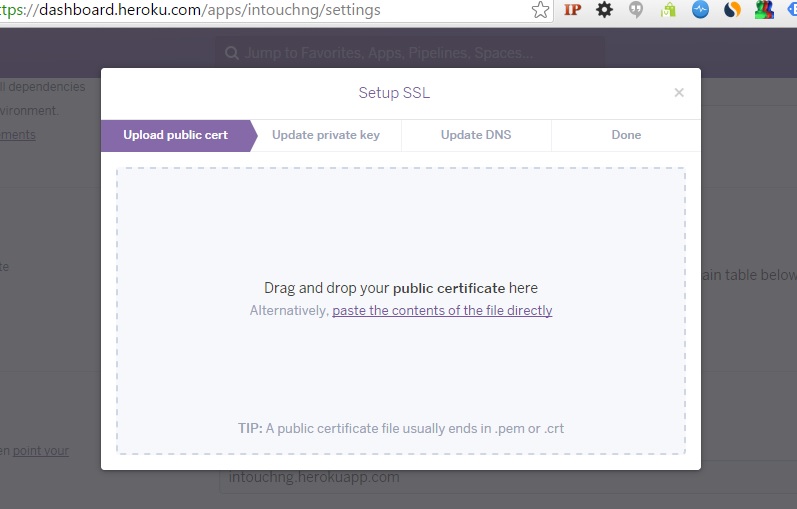
Now, you will need to log into your heroku dashboard and navigate to settings. Click on SSL to enter your SSL credentials.

Follow the steps, pasting your Public Certificate in step 1, your Private Key in step 2, Acknowlege step 3…and you’re done.
Finally, you will have to log into your DNS management backend to update your DNS settings.
You will need to point your application’s CNAME record (www.yourapp.com) from yourapp.herokuapp.com to www.yourapp.com.herokudns.com
Now, visit your brand new https://www.youapp.com and savour all the hard work!
Don’t forget to share…


You must be logged in to post a comment.